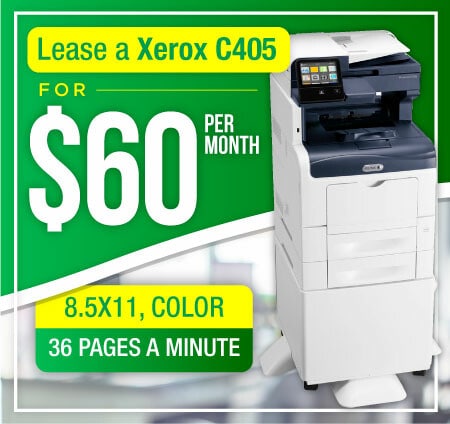
Getting the Best Color Prints
If your business demands the best colors from your office copier then it’s worth taking the time to learn how to get the best color prints. You may be settling for prints that are less than the best that your machine can offer. This is because many people do not know the best way to use their copier to its full potential. Getting the best color prints is very easy as long as you understand how.
What you need to know is that your office copier has a number of settings to help you maximize your job. Many people never experiment with these options, which leaves them with dull color prints. All you have to do is follow these few simple steps and you will start to notice a noticeable improvement with your color prints.
- Set your print resolution. Make sure that it is as high as it can go. Most printers have settings that go as high as 1800 x 600 dpi, or even 2400 x 1200. More dpi means better pictures.
- Set your print driver. Make sure you change from the text setting to the photo setting. This will prepare your printer for a bolder image.
- Set print drive to full color. This will open a new range of colors available.
- Use Adobe PostScript print drive. Your greens, blues, and reds will be changed into cyan, magenta, yellow, and black values. This will create a fully color spectrum.
- Check your digital format. Jpeg, PDF, and PNG will create better images than TIFF or Bitmap photo.
That’s all it takes to get the best color prints. Taking the time to understand your machine is the best way to get the best results possible.

